Mastercam Lathe Grooving Operations
This tutorial will walk you through how to create grooves on the CNC lathe through the Mastercam software.
| Image | Step |
|---|---|
|
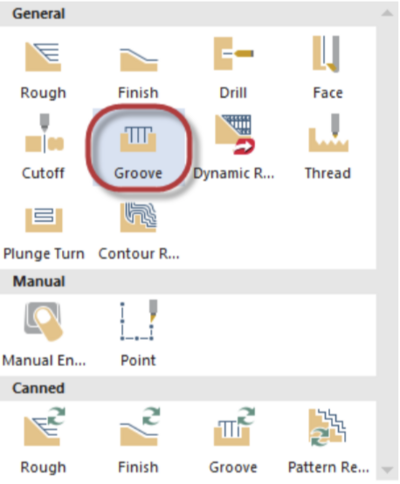
Expand the General gallery, and select Groove from the Lathe Turning tab. The Grooving Options dialog box opens. Select the Multiple Chains option from the Grooving Options dialog box and hit ok. | |
|
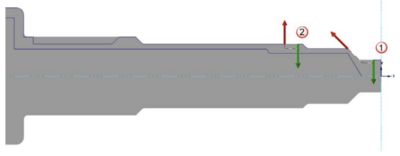
You will be prompted to select an entry point for the groove tool. You can chain multiple grooves together in one operation by selecting the first and last entities of each chain as shown. The shortcut [Alt + T] toggles the toolpath geometry display. | |
|
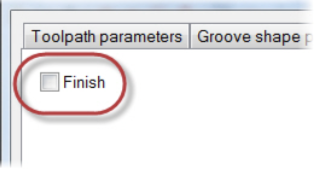
Right click in the Toolpaths Manager. Select Lathe Toolpaths, and Groove. From here, you must select the proper grooving tool that will be used in the CNC lathe when the part is machined. It is typically ok to leave all other parameters on this page at their default values. The other tabs on the Groove Toolpaths can be used to adjust how the groove will be shaped and how it will be cut. Typically, the first grooving cut will be a roughing cut, so this tab can be used to create the roughing toolpath. Mastercam will create roughing and finish toolpaths for you as long as the corresponding tabs have the correct values for each pass. If only a roughing pass is desired, then you can clear the Finish option on the Groove Finish Parameters page. |


