4th Axis (HAAS Mill)
Jump to navigation
Jump to search
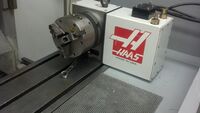
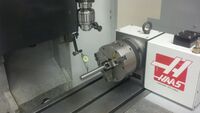
The 4th axis is used in conjunction with the HAAS mill to give you an additional degree of freedom while machining parts.
This page provides a basic tutorial on mounting the fourth axis on the HAAS mill.
Installing/ Uninstalling 4th Axis
| Tool/Step | Description |
|---|
| Installing the 4th axis | ||
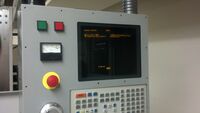
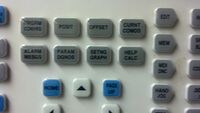
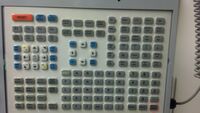
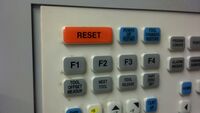
| Use the green POWER ON button in the top left corner of the control panel. Then push power up reset | ||
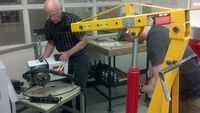
| Located behind vertical band saw, place 4th axis approximately a wrench's distance from the right sidewall of the mill. | ||
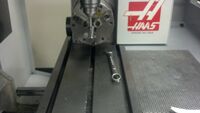
| Use the T-bolts and T-nuts to mount the 4th axis. Insure There is enough room for a wrench to get the back bolt. | ||
| Located on control panel | ||
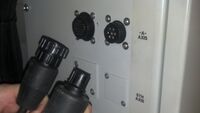
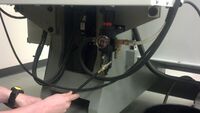
| Plug the two 4th axis electrical cables into the corresponding sockets marked “-A- Axis”, located in the west face of the mill’s electrical box The Wire on the left needs a quarter turn to connect in. | ||
| attach the 4th axis air line to the regulator under the mill’s electrical box. | ||
| Located in the DISPLAY section on the mill’s control panel. | ||
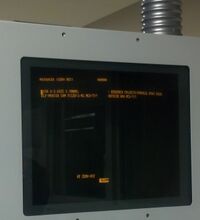
| Fastest way to get there is page down | ||
| Usually two to the right | ||
| sends command to computer | ||
| To allow movement of HAAS | ||
| double press reset to turn off flashing light | ||
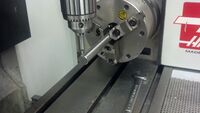
| Dowel rod from the fastener section works well. You can also ask Russ for straight shaft. | ||
| Using an indicator dial attached to the mill head. Run dial indicator back and forth until and adjust until no movement is seen on dial. | ||
| Makes sure 4th Axis is aligned and stationary | ||
| Center of 4th axis | ||
| 4th Axis is ready for use | ||
| Uninstalling the 4th axis | ||
| To guarantee safety | ||
| Hold air line firmly so it won't go flying. | ||
| Gets you to the setting menu | ||
| It will say HRT160BL then arrow over to the left until it says "off" to turn of 4th axis | ||
| Saves changes | ||
| to allow use again | ||
| Turns off flashing light | ||
| Protects HAAS Machine from getting damaged. | ||
| Place 4th axis back where you got it |
References

